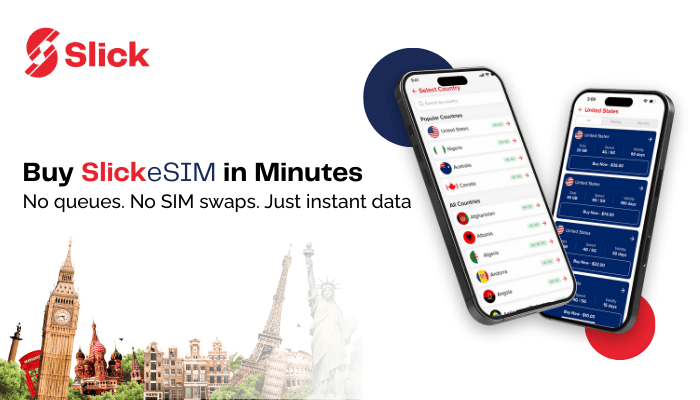
Headed abroad soon? You already know what’s non-negotiable: having internet on your phone the moment you land. Here’s the good news: you can skip the airport SIM counter. Forget fumbling with tiny SIM trays. And let’s be real—who actually travels with a paperclip? Instead, buy SlickeSIM before you fly. With just a few taps to install eSIM on your iPhone or Android, you’ll have fast, reliable data ready to go in 150+ countries. No lines, no stress, no hidden surprises. This isn’t just easier. It’s smarter. A few taps, and you’re instantly connected, whether you’re in Paris, Tokyo, or Toronto. Ready to get online instantly? Let’s walk through exactly how to buy an eSIM step by step.
What is an eSIM, and Why Do You Need One?
Before we dive into buying one, let’s briefly discuss what an eSIM really is and why it’s a game-changer for travelers. Let’s start with the basic question of ‘what is an eSIM?’ In simple terms, an eSIM, or embedded SIM, is a digital SIM card built directly into your device. You have to insert a physical SIM card into your phone to make calls or use data abroad. But you install an eSIM in your device. You don’t need to put it in or take it out. Without swapping SIM cards, you can use it for calling and browsing. Imagine your SIM card went digital, and suddenly you could use multiple data plans in one Slick app that’s always inside your phone. Pretty convenient, right?
But why should you care? Here’s where the SlickeSIM stands out. Let’s break down the benefits:
-
Coverage in 150+ Countries
Whether you’re jetting off to Europe, heading to Asia, or exploring South America, SlickeSIM keeps you connected. Think of it as a VIP global internet pass for your phone.
-
Flexible Data Plans
You’re not stuck with one-size-fits-all data plans. Select the plan that suits your travel style, whether you prefer short trips, long vacations, or frequent work trips.
-
Affordable Pricing
Why pay more? SlickeSIM offers cost-effective plans without sacrificing quality so that you can save money for experiences rather than data bills.
-
Instant Activation
After purchasing your plan, you can instantly activate your eSIM in seconds. Now, you don’t have to waste time in airport lines or local SIM shops. Install, tap, and done. It’s that easy.
-
No Physical SIM Swaps
Remember those frustrating moments digging for a SIM ejector tool at the airport? Forget them. SlickeSIM lives digitally on your phone.
-
Time-Saving Convenience
Airports are stressful enough without standing in queues for a local SIM. With SlickeSIM, you skip the line entirely. Now, let’s think about it this way: buying a physical SIM at the airport is like waiting for your luggage to arrive. Sometimes it’s fast, sometimes it’s painfully slow. An eSIM? It’s like having your suitcase already in your hotel room when you land. Instant, effortless, and less stressful. With all these perks, it’s no surprise travelers are switching to eSIMs. But how to buy the SlickeSIM? Keep reading because we’re about to break it down, step by step.
How to Buy the SlickeSIM? Step-by-Step Guide
Alright, first things first. You need to buy your SlickeSIM using the Slick app. It’s like buying a game on your phone, but instead, you’re buying travel internet. Here’s what to do:
Open the Slick App
Open the Slick app and sign up using your phone number. It takes just a few seconds. If you haven’t installed it yet, head to the App Store or Play Store and install it.
Tap on ‘eSIM.’
At the bottom of the screen, you’ll see a row of menu icons. Tap on “eSIM.” This is where all the travel internet plans live. It’s like walking into the eSIM section of the app.
Select the Country You’re Traveling to
Let’s say you’re going to the United States. Scroll or type to find the US, then tap it. It tells the app where you’ll need internet access, so it can show you plans that work specifically there.
Choose a Data Plan (Daily or Monthly)
You’ll now see a list of internet plans. Some are daily, some are weekly, and some cover a whole month. If you’re on a short trip, a daily or weekly plan is great. If you’re staying longer or want peace of mind, go for a monthly one. Each plan will clearly say how much data (GBs) you get and how long it lasts. Pick the one that suits your trip best, then tap “Buy Now.”
Confirm Your Phone’s eSIM Compatibility
Before you pay, Slick will quickly ask: Is your phone eSIM compatible? This is super important because not all phones support eSIMs. Luckily, most of the latest iPhones and Android phones do. Mark the small tick box to confirm that your device is compatible with an eSIM.
Once confirmed, tap “Continue to payment.”
Now you’re on the checkout screen. Choose Your Payment Method. Slick accepts:
- Credit/Debit Cards
- PayPal
- Slick wallet balance
Choose whichever option works best for you. You might be asked to enter some basic information, like your card number, CVC, or email. Once done, tap “Pay.” The app will process your payment securely. Don’t worry, your details are safe. You’re Done Buying!
What Happens After You Buy Your eSIM? Installation and Activation
Buying an eSIM is only the first step. The next part of installing and activating it is just as effortless. We won’t go into the full step-by-step guide here (we have separate posts for that), but here’s what you need to know:
- Easy installation: The Slick app guides you through adding the eSIM to your device with just a few taps. No technical headaches, no confusing codes.
- Quick activation: Once installed, your eSIM is active immediately. You can start using data without delay.
- Seamless experience: Since the eSIM is digital, there’s nothing to swap in or out. Your phone stays sleek, light, and ready for travel.
Download the Slick App and Buy Your eSIM Today
Today’s world has become a global village. To stay in touch with family abroad, talk to friends, check maps, book hotels, or even get a ride, you need the internet. And changing physical SIM cards or standing in long airport lines is a hassle. With SlickeSIM, you can avoid all these troubles. This blog has already given you a detailed answer to your key question: how to buy the SlickeSIM. So, what are you waiting for? Just download the Slick app from the App Store or Play Store, sign up with your phone number, buy your plan, and start using data instantly as soon as you land. No local SIMs needed. No airport queues. Just smooth connectivity.
FAQs
i
1. Can I use SlickeSIM on any Phone?
Yes. Most iPhones (XR and latest versions) and Android smartphones support eSIMs. But check your phone’s compatibility with an eSIM before buying a plan. Otherwise, you’ll waste your money for nothing.
i
2. Is it difficult to Buy an eSIM?
Not at all. Slick’s app is designed for simplicity. You pick a plan and pay, and the eSIM is delivered digitally instantly.
i
3. Do I need a physical SIM at all?
Nope. Once you have an eSIM, there’s no need for a physical SIM card and no swapping between countries.
i
4. Does Slick offer flexible data eSIM Plans?
Yes. Slick gives you the freedom to choose plans that match your trip length and budget. You have options to choose from plans for 7, 15, or 30 days. With these flexible options, you only pay for the days you actually need.


