


You’ve got your sleek iPhone 14 in hand, and now you’re ready to unlock one of its most important features: the eSIM. But then reality sets in: how exactly do you activate it? Apple makes the hardware brilliant, but the steps can sometimes feel more like solving a riddle than flipping a switch. If you want to activate an eSIM for iPhone 14 without stress, confusion, or the dreaded “what if I mess this up?” feeling. The good news: you’re exactly where you need to be. In this guide, I’ll show you every step to buy, install, and activate a SlickeSIM directly from your iPhone 14. By the end, you’ll be able to complete your iPhone 14 eSIM setup in minutes.”
So, grab your iPhone and let’s get started.
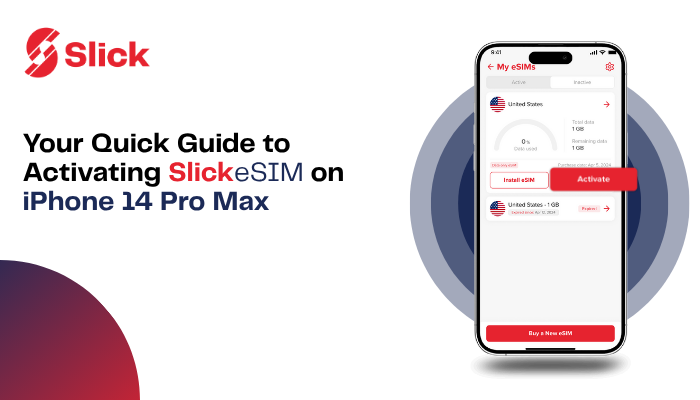
Step-by-Step Guide to Setting Up SlickeSIM for iPhone 14
Step 1: Open the Slick App
Everything begins in the Slick app. From your iPhone 14 home screen, tap to open the app.
Step 2: Tap on “eSIM”
On the home screen of the app, tap eSIM. This is where your global connectivity journey starts.
Step 3: Search for Your Country
Type in the country where you’ll need data. Going to Spain? Canada? Japan? Enter it here, and Slick will pull up the right plans for you.
Need screenshot here
Step 4: Choose Your Plan
Browse through the options of weekly or monthly plans. Pick the one that fits your trip best, then tap Buy Now.
Step 5: Confirm Your iPhone Supports eSIM
Slick will remind you: not every phone supports eSIM. But since you’re using an iPhone 14, you’re good to go. Tick the box to confirm and tap Continue to Payment.
Step 6: Select Your Payment Method
You’ll see three choices:
- Credit or Debit Card
- PayPal
- Wallet Balance (if you’ve topped up already)
Pick the one that works best and tap Continue.
Step 7: Complete Payment
When the payment clears, Slick will flash a confirmation screen: Payment successful. That’s your green light to move on. Tap Install eSIM. From here, iPhone 14 eSIM setup begins.
Step 8: Choose Your Installation Method
Here you’ve got these easy options install an eSIM for iPhone 14:
- Direct Install (straight from the app to your iPhone settings)
- QR Code Install (scan your code to install your eSIM)
Option A: Install via QR Code
- In the Slick app, tap QR Code at the top.
- Your unique code will appear instantly.
- Scan the QR code.
- Follow the on-screen steps discussed below to confirm.
In a few seconds, your iPhone will activate it.
Option B: Install with the Direct Method
- If you want to avoid QR code for installation of an eSIM for iPhone 14, tap Direct in the Slick app.
- Tap Install Now.
- Follow Apple’s prompts on your iPhone:
- Tap Allow to activate SlickeSIM for iPhone 14.
- Wait a few seconds while your phone connects.
- If prompted, tap Turn Off Primary. This only switches your default line.
- When you see Activate eSIM, tap Continue.
Step 9: Confirm Cellular Setup
Your iPhone will flash: Cellular Setup Complete. Tap Done. That’s your cue that everything for iPhone 14 eSIM setup worked behind the scenes.
Step 10: Label Your New eSIM
iPhone will now ask you to label the line. Choose something simple, like SlickeSIM. After labeling it, tap Continue.
Step 11: Set Up iMessage and FaceTime
When asked to turn on iMessage and FaceTime choose Don’t Use. Keep your main number tied to iMessage and FaceTime.
Step 12: Pick Your Default Line for Data
When asked which line should handle cellular data, select SlickeSIM.
Make sure Cellular Data Switching is toggled OFF. This step is necessary to ensure that your iPhone isn’t sneaking back to your home carrier when abroad. Then, tap Done.
Step 13: Set Preferred Line for Contacts
Next: Do you want to use this line for contacts?
Tap Use SlickeSIM as the preferred line and hit Done.
Step 14: Enable Your New eSIM
This part is very important. You need to enable your eSIM for iPhone 14 to use data. For this, go to Settings > Cellular > SIMs. Tap on SlickeSIM.
Toggle Turn On This Line. Now your eSIM is enabled.
Step 15: Turn On Data Roaming
On the same screen, toggle Data Roaming ON. This is what lets you use the internet abroad.
Automatic Activation Abroad
Once you’ve installed the SlickeSIM on your iPhone, you don’t need to fiddle with it again. The second your plane lands and your phone catches a signal, your SlickeSIM for iPhone 14 activates automatically. Instant data, no stress.
Real-Time Data Tracking
Curious about how much data you’ve used? Open the Slick app, tap eSIM.
Then select Details. You’ll see a live dashboard of your usage.
Wrapping It Up
Here’s the bottom line: activating an eSIM for iPhone 14 shouldn’t feel like defusing a bomb. It should be quick, clear, and stress-free. And with Slick, it is. Whether you go with the direct install or the QR code method, your iPhone 14 eSIM setup will complete in minutes. No hassle. Just a seamless setup.
So, download the Slick app today, activate your eSIM before you fly, and stay connected with complete peace of mind.
FAQs:
Is the iPhone 14 eligible for eSIM?
Yes. Every iPhone 14 model supports eSIM. You can easily install and activate your SlickeSIM on it without needing a physical SIM card.
How can I activate an eSIM on iPhone 14?
To activate SlickeSIM, simply open the Slick app, select your preferred installation method (direct install or QR code), and follow the step-by-step instructions. Within a few taps, your eSIM will be ready to use.
How do I enable an eSIM on my iPhone 14?
To enable your eSIM, go to Settings > Cellular, select your new SlickeSIM, and toggle on Turn On This Line.
Why is eSIM not appearing on my iPhone 14?
If your SlickeSIM isn’t appearing, make sure your iPhone 14 is updated to the latest iOS and that your internet connection is stable during installation. If it still doesn’t show, delete the eSIM profile and reinstall it from the Slick app.